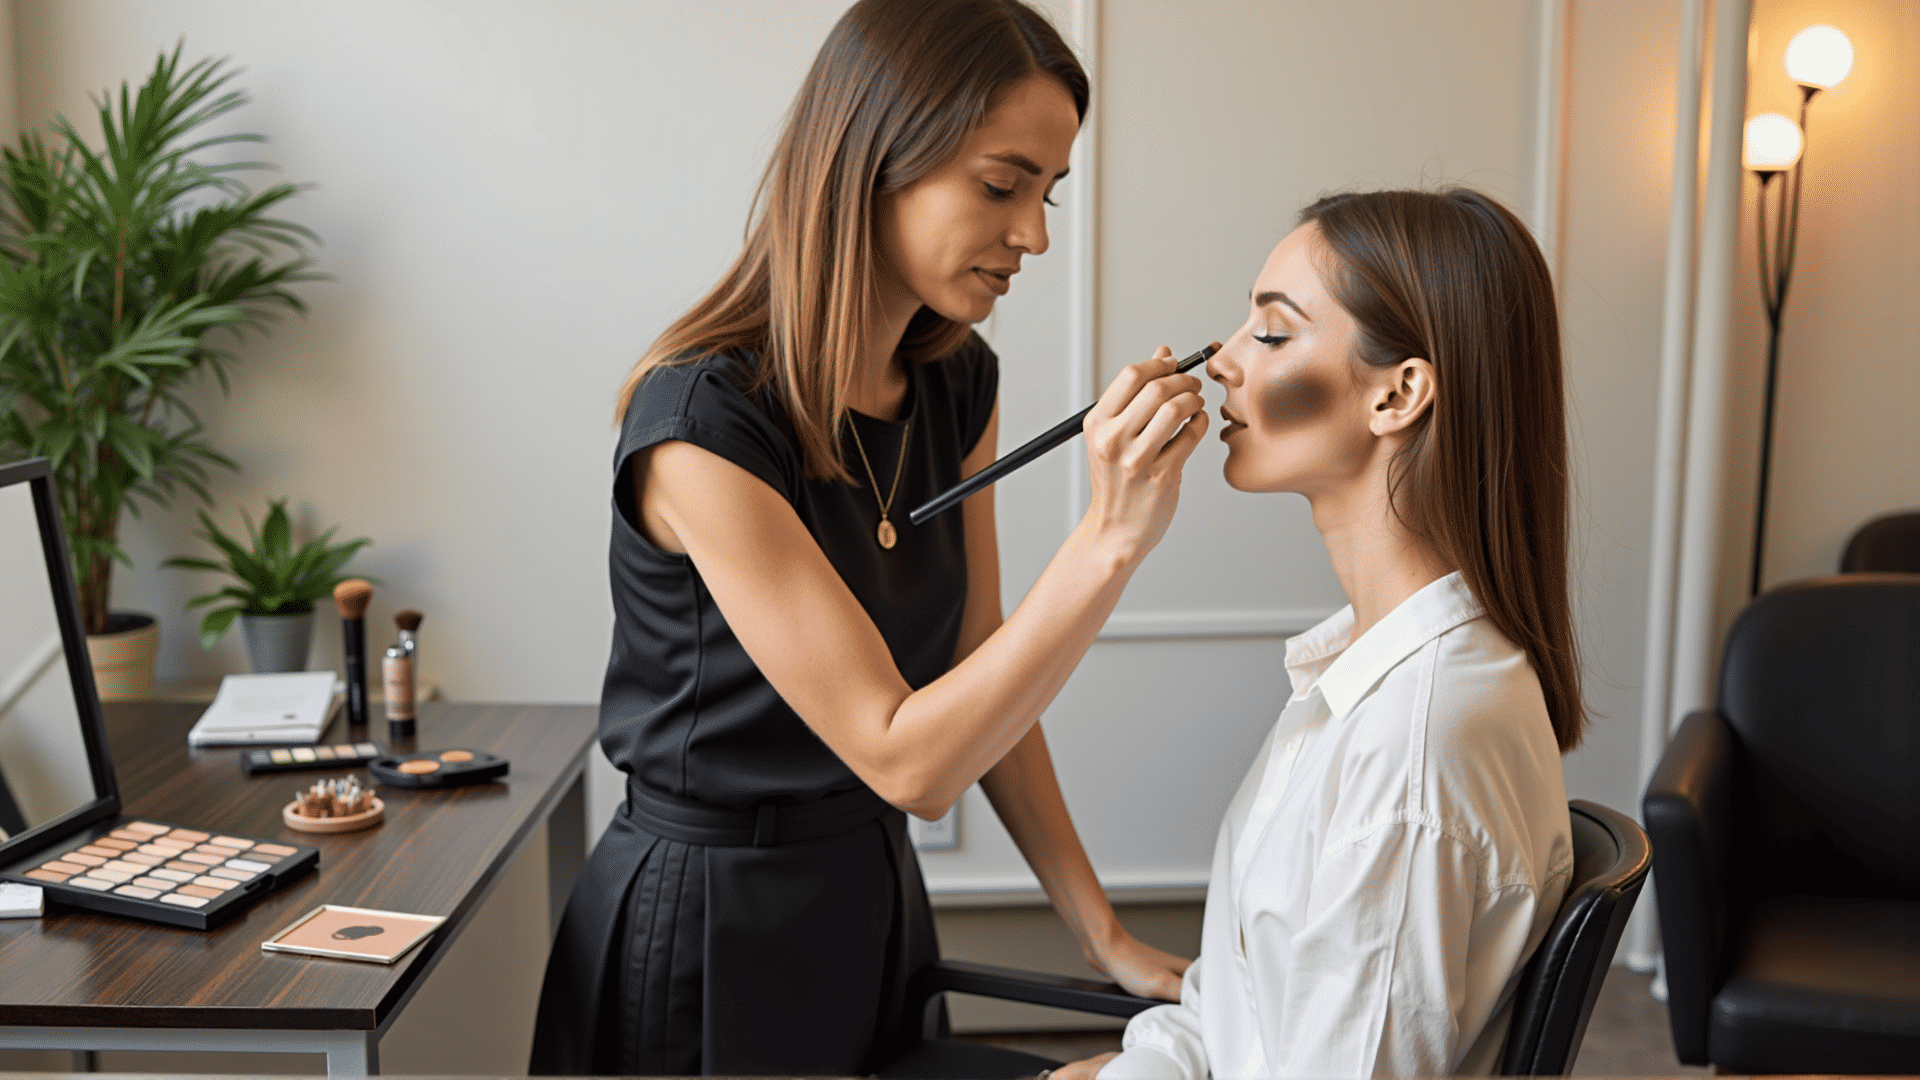
Makeup contouring has transformed the beauty industry, providing individuals the power to subtly redefine, enhance, and balance their facial features. At its core, contouring is the art of using shadows and highlights to amplify the natural structure of the face. With insights from top makeup artists in the industry, mastering this art form is within reach.
Understanding Contouring
Contouring involves both the application of darker shades to recede features and lighter shades to bring features forward. The basic principle is straightforward: darker shades create depth and definition, while lighter shades highlight and draw attention. To get started, one must identify their face shape - whether it be oval, round, square, heart, or diamond - as different techniques apply to each shape to achieve the desired balance.
Tools of the Trade
To begin contouring like a pro, a few essential tools are necessary. Invest in a quality contour palette, which includes both matte dark shades for shadowing and shimmer or light shades for highlighting. A set of brushes that includes a contour brush, blending brush, and a fluffy powder brush is crucial for applying and blending product seamlessly. Cream contour sticks are also a popular choice for their blendability and precision.
The Techniques
-
Mapping the Face: Renowned makeup artists recommend starting by mapping your face. This involves determining which aspects need to be emphasized and which parts should recede. Generally, the areas beneath the cheekbones, the sides of the nose, the perimeter of the forehead, and the jawline are contoured to create the desired shadow.
-
Applying Foundation: Begin with a flawless base. Apply foundation that matches your skin tone evenly across your face and down into your neck. This helps ensure that the contouring looks natural and well-blended.
-
Shadowing: Using a shade or two darker than your skin tone, begin applying the product in the mapped-out areas. Use a contour brush for precision. Blend in an upward motion to ensure there are no harsh lines. Makeup artists stress blending as the most crucial step in contouring.
-
Highlighting: Next, use a highlighting product on the high points of your face: the top of the cheekbones, the bridge of the nose, the center of the forehead, and the cupid's bow. Use a lighter shade that complements your skin tone.
-
Blending: With a clean blending brush or a damp makeup sponge, blend the contour and highlight into the foundation. This step is vital for achieving a natural look and avoiding a "striped" appearance.
-
Setting the Face: Once satisfied with your contouring and highlighting, set your face with a translucent powder. This helps the products stay in place throughout the day and minimizes shine.
Tips from the Pros
-
Less is More: A common mistake among contouring beginners is using too much product. Start with a light application, as you can always add more.
-
Know Your Lighting: Ensure you're contouring in natural light or a well-lit area to gain a true perspective of how your makeup will look outside. This prevents the contour from appearing too heavy or uneven in different lighting.
-
Practice Patience: Mastering contouring takes time and practice. Begin with subtle looks and progress gradually to more defined techniques as you become more confident.
-
Personal Touch: Contouring isn't a one-size-fits-all approach. Experiment with different shades, products, and styles to discover what best enhances your unique features.
Contouring is not just a makeup skill; it’s an empowering tool for self-expression. By embracing the craftsmanship of contouring with patience and practice, one can achieve a radiant, sculpted look that enhances rather than conceals their natural beauty.
